Scan and split each expense fairly and transparently with our app
Everything you need for your shared expenses
Smart scanning
Our app scans your receipts and identifies each item to split them automatically.
Group management
Create groups for trips, roommates, or friends and keep full control of expenses.
Individual receipts
Everyone gets their individual receipt with what they have to pay—no mistakes or arguments.
How does it work? Easy!
Click the button
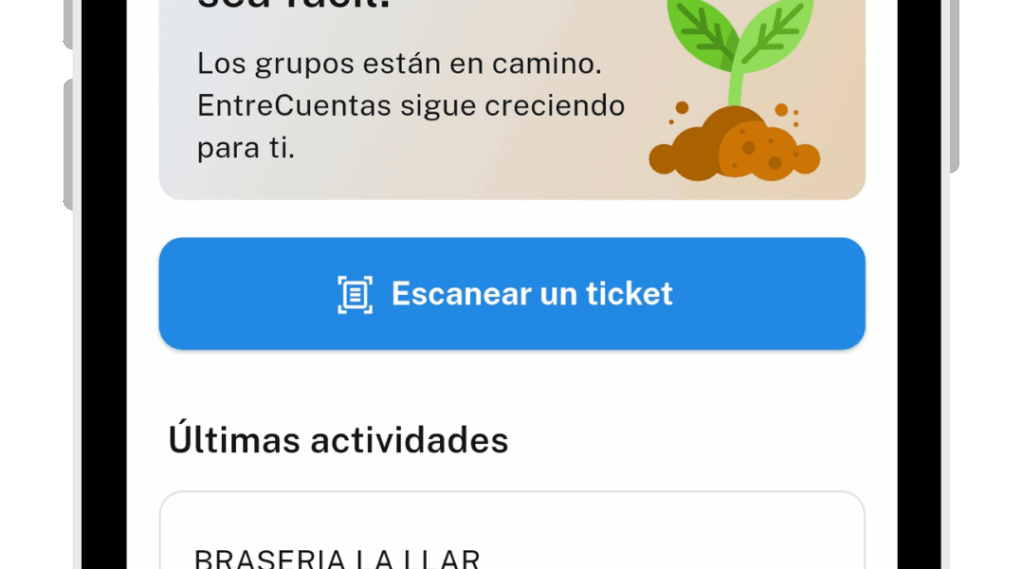
1. Click the "Scan" button
Click the “Scan a receipt” button. This will open the camera to take a photo of the receipt, or give the option to select it from the gallery.
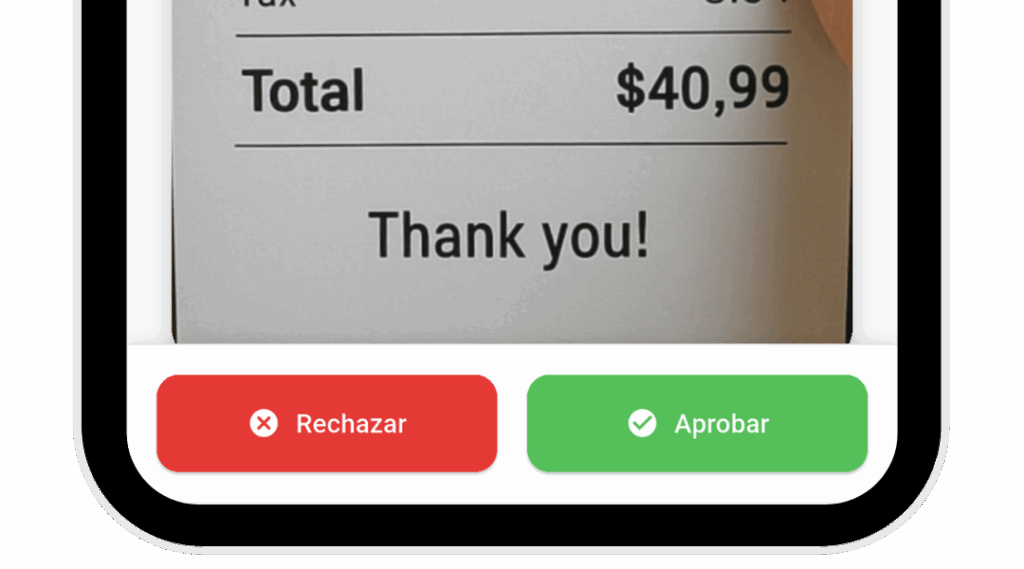
2. Confirm the image
Confirm or reject the image. The image must include the receipt and all items must be clearly readable. The better the image, the better the results.
Approve image
Click the button
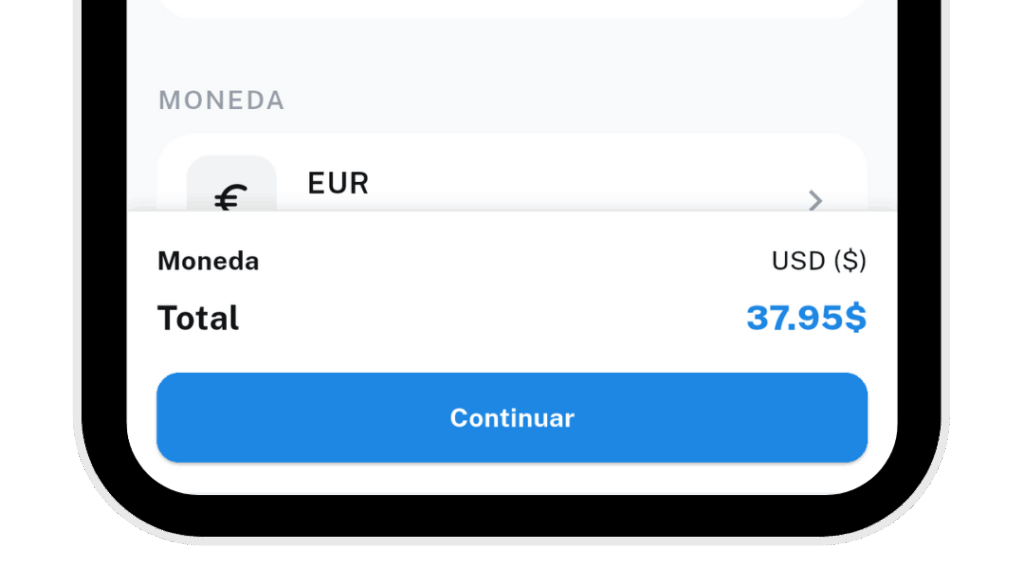
3. Review the scan results
Review the products detected by the scanner; if there are errors, you can edit the receipt. Even if the total is correct, we recommend checking that everything is accurate. Once reviewed, click continue.
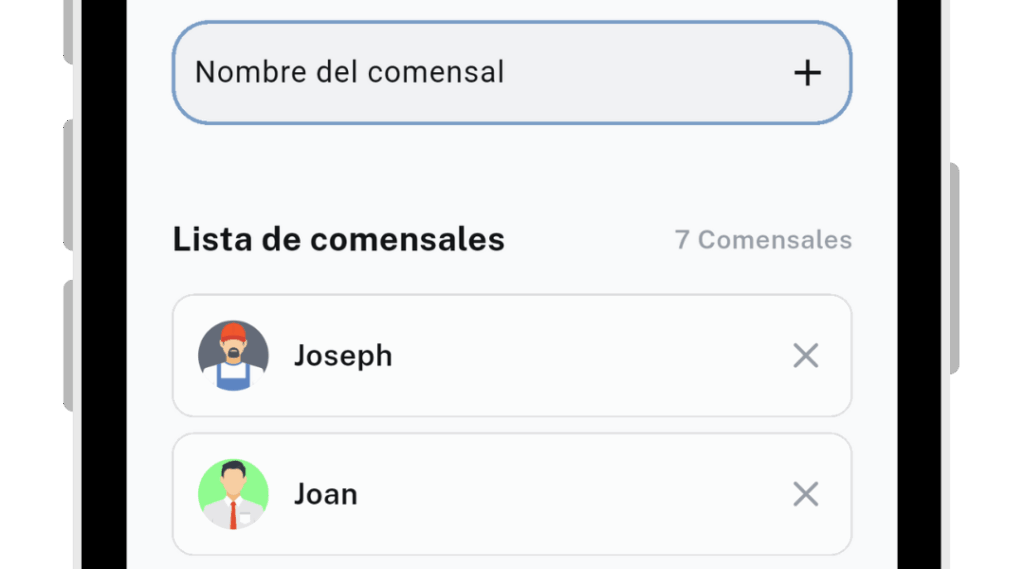
4. Define the diners
Choose how you want to define the diners (previous list, existing group, or a new list). In any case, adjust the list of diners and once defined, click continue.
Enter diners
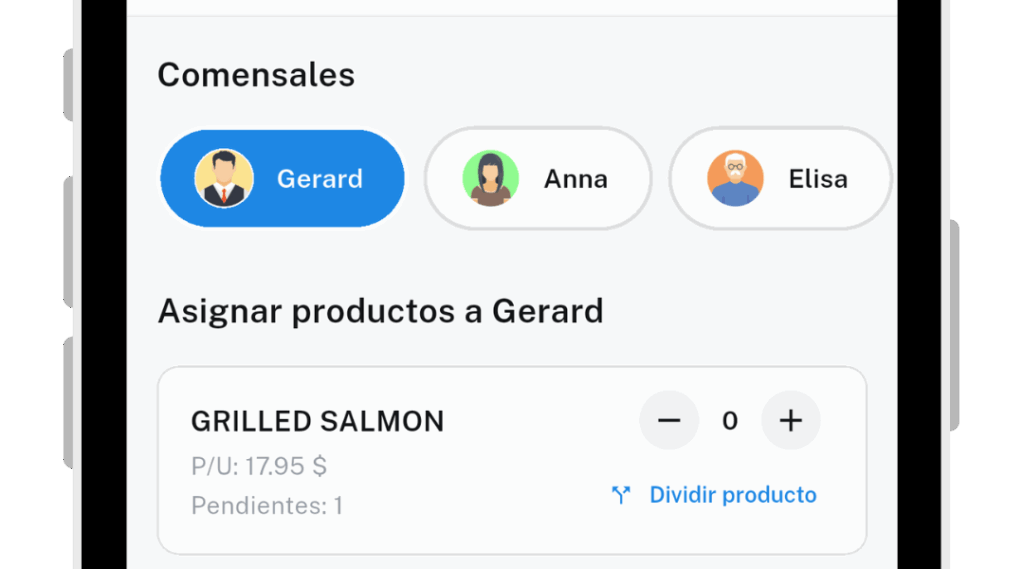
Switch diner
Share product
Assign one unit to the diner
5. Assign the products
Assign the products to the diners. To do this, go diner by diner selecting the products. You can assign individual products or shared products using the buttons. Once shared products are assigned, they are distributed automatically among all selected diners.
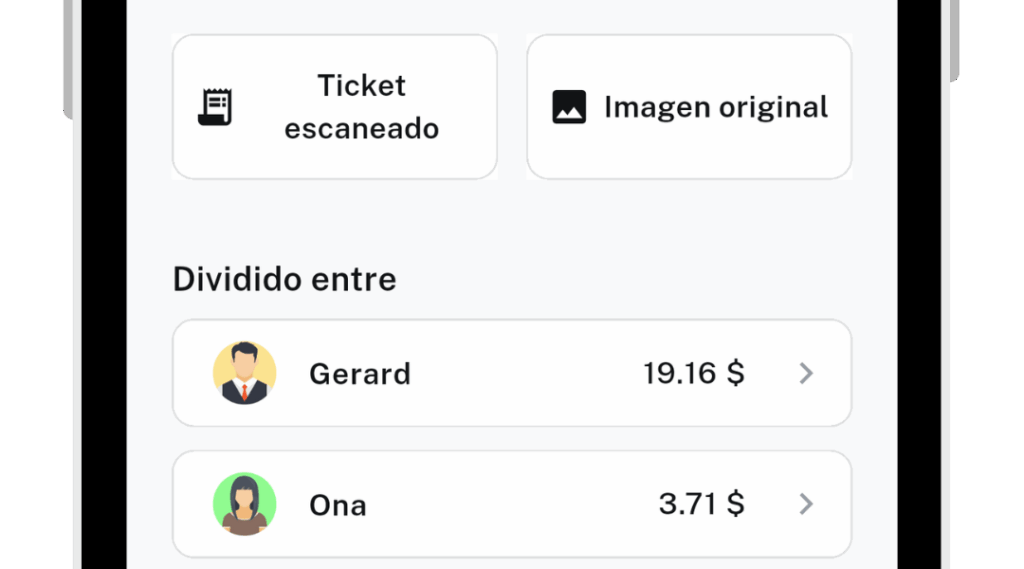
6. Get the results
Once the products are assigned, you’ll get the final result with the individual receipts for each diner. From this page you can also view the global receipt as well as the original receipt image.